
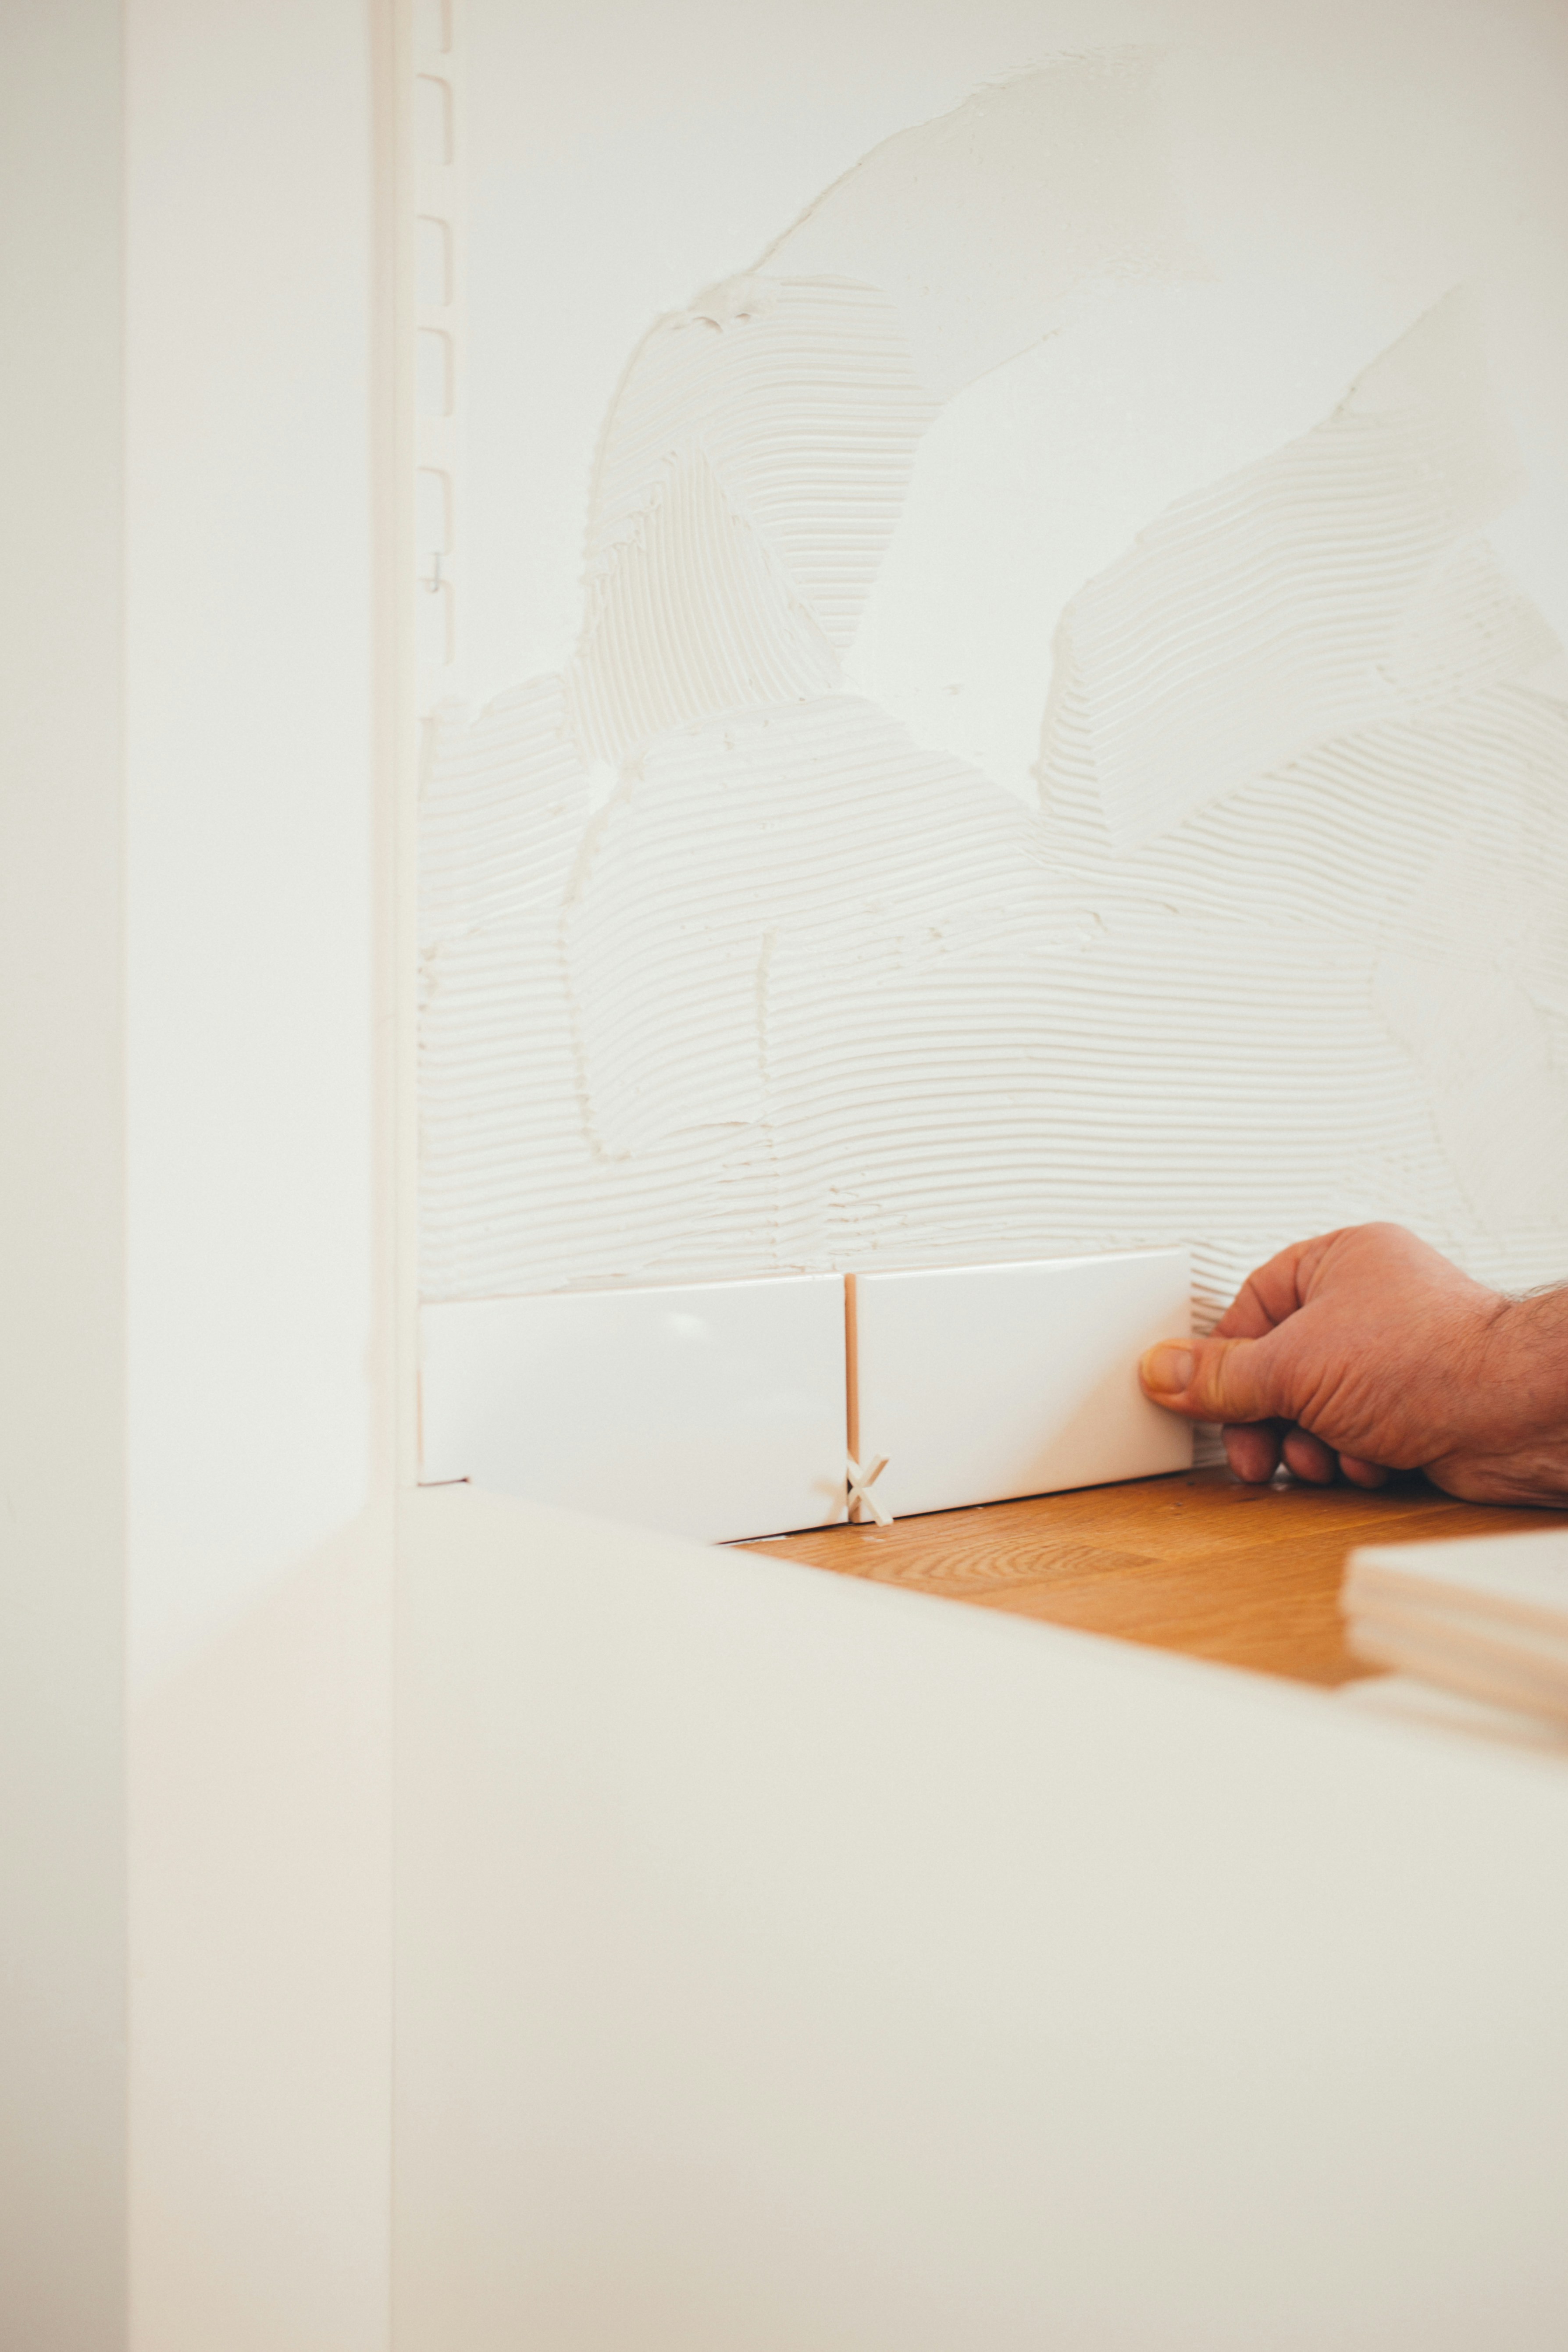
KITCHEN GUIDE · 10 TILING & KITCHEN SPLASHBACKS
Replacing a splashback looks like a surface job. In practice it sits where the wall, the benchtop and the power points meet, so the order of work matters. This guide covers what gets checked before a new splashback goes into a Brighton kitchen, and where licensed trades come in.
By Ivan Bodnar · Independent Home Renovation Specialist
BEFORE YOU CHOOSE A TILE
The finish you see is the last layer. Whether it stays flat, sealed and easy to clean depends on the wall behind it, how the old splashback comes off and how the new one meets the benchtop.
THE CHECK LIST · FIVE ITEMS
#01 Wall condition
WHAT WE LOOK AT
Cracking, loose or drummy plaster, signs of moisture behind the sink or cooktop, and walls that are out of plumb.
PRACTICAL OPTIONS
Patch and make good, or replace damaged sections of plasterboard, depending on the inspection.
#02 Removing the old one
WHAT WE LOOK AT
How the existing splashback was fixed, whether it was laid over an earlier layer, and how much wall lining is likely to come away with it.
PRACTICAL OPTIONS
Remove it carefully and make good. Sometimes the lining underneath needs replacing rather than repairing.
#03 Substrate preparation
WHAT WE LOOK AT
Whether the surface is flat, dry and sound enough for the adhesive or fixing that the new material needs.
PRACTICAL OPTIONS
Sand back, fill, prime or seal to suit the new splashback. Why preparation comes first.
#04 Suitable materials
WHAT WE LOOK AT
Weight, heat near the cooktop, how easy it is to clean, and where the joints will fall.
PRACTICAL OPTIONS
A material chosen to suit both the wall it is going on and the way you use the kitchen.
#05 Benchtop & power points
WHAT WE LOOK AT
The joint between the splashback and the benchtop, and the position of outlets and switch plates.
PRACTICAL OPTIONS
Seal the junction properly. Any relocation or alteration of power points is carried out by an appropriately authorised electrician.
MATERIAL GUIDE
No splashback material suits every wall. These are general points to weigh up. The right choice for your kitchen is confirmed once the wall has been assessed.
Tiles need a flat, sound and dry base, and they can accommodate small adjustments at the joints. Grout lines need regular cleaning, so the tile size and grout colour are worth deciding together.
Glass shows any unevenness in the wall behind it, so flatness matters more than usual. Cut-outs for power points are usually set before fabrication, which means outlet positions should be settled first.
Stone and slab panels are heavy, so the wall and the fixing method have to suit the weight. The joint with the benchtop is usually planned alongside the benchtop itself.
Sheet panels have fewer joints and are simpler to clean. They still need a flat, dry substrate to bond to, and the edges have to be properly sealed.
06 LICENSED TRADES & REGULATED WORK
Ivan handles ······ removing the old splashback
Ivan handles ······ wall repairs and surface preparation
Ivan handles ······ installing the splashback and sealing the benchtop joint
Authorised specialists ··· moving, adding or altering power points and switches
Authorised specialists ··· any plumbing changes at the sink
BEFORE YOU DECIDE
An inspection cannot reveal every concealed issue, and some wall conditions only become visible once the old splashback is off. Scope, permits and licensed trade requirements vary from one kitchen to the next, which is why Ivan prepares a written quotation only after an on-site assessment.